We will now setup Dynatrace, Azure, and the workshop environment. You need all of these in place before you are presented with the lab excercises.
What you'll learn in this section
🔷 Setup your temporary Azure subscription from the Azure Pass promo code you received from workshop staff.
🔷 Automatically provision workshop environment and sample application
To complete this workshop, you will be provided an Azure Pass Promo code. A workshop staff will provide that code to prior or during the day of the workshop.
That Azure Pass Promo code enables you to have a separate Azure subscription setup under a separate account to provision all the resources needed to complete the workshop.
This free Azure subscription will be available to you for the next 5 days or until when the $100 credit is utilized by the Azure resources (whichever comes first).
Tasks to complete this step
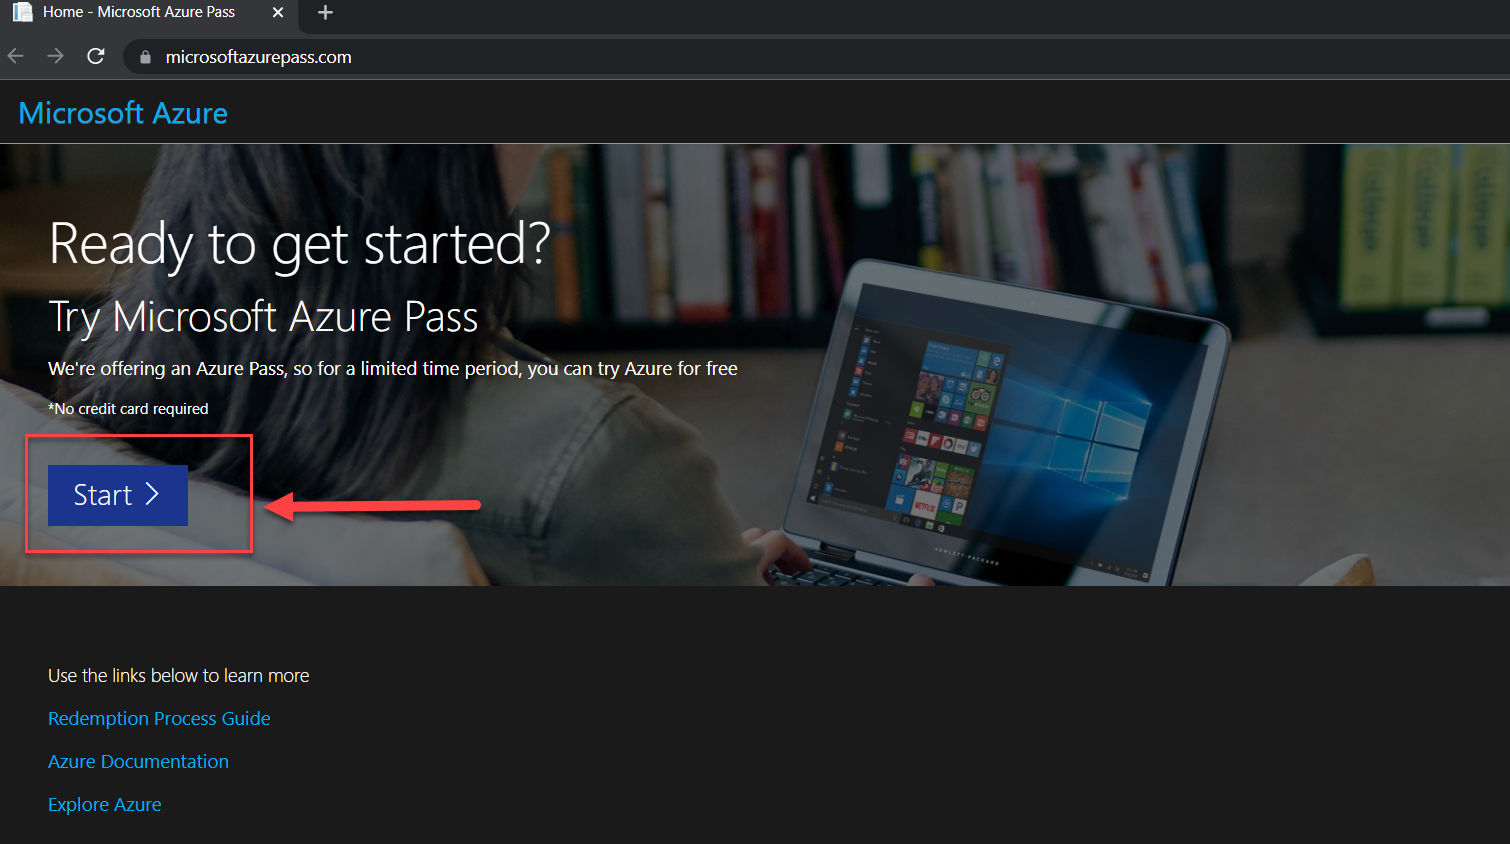
- To setup your workshop using free Azure Pass subscription, navigate to Microsoft's Azure Pass website
- Click on Start.
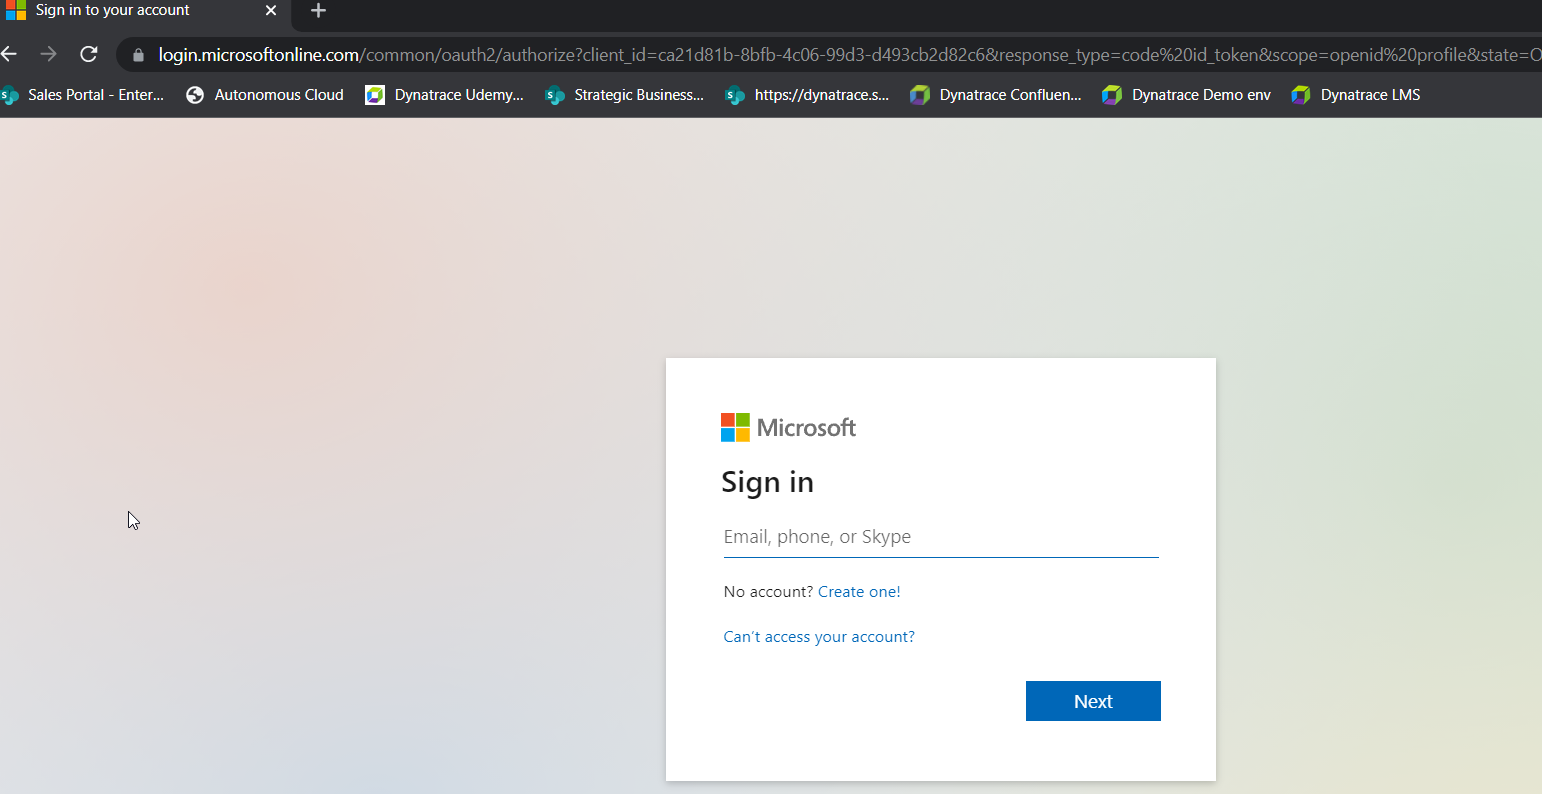
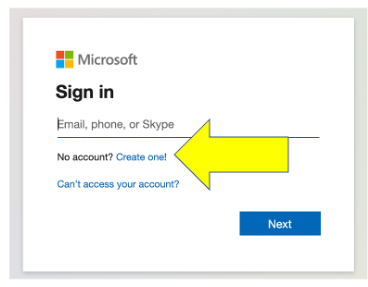
- Use a personal email address to signin or create a new Microsoft account email.
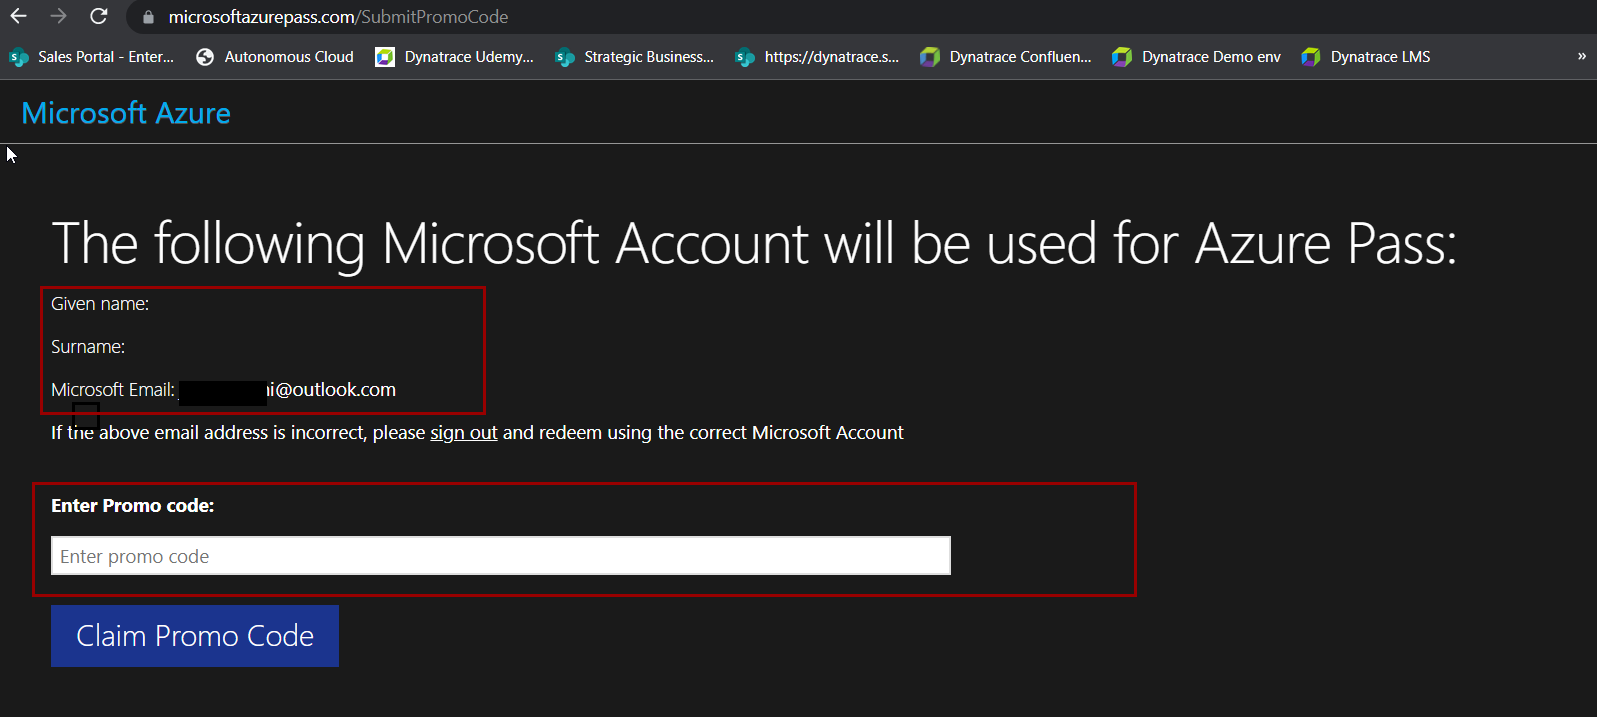
- Confirm the email address you want to use for your Azure pass subscription and "promo" code provided to allow for the Azure subscription to be setup.
For this workshop, we will set-up a free Dynatrace Azure SaaS tenant with an temporary license complete with all the features of our all-in-one performance monitoring platform to monitor Azure resources and complete the workshop exercises.
Tasks to complete this step
- Open up browser and go to Azure Portal - https://portal.azure.com/
- Search for Marketplace from the top search bar

- Once in the Azure Marketplace, search for
Azure Native Dynatrace Serviceclick on tile when the search displays the results.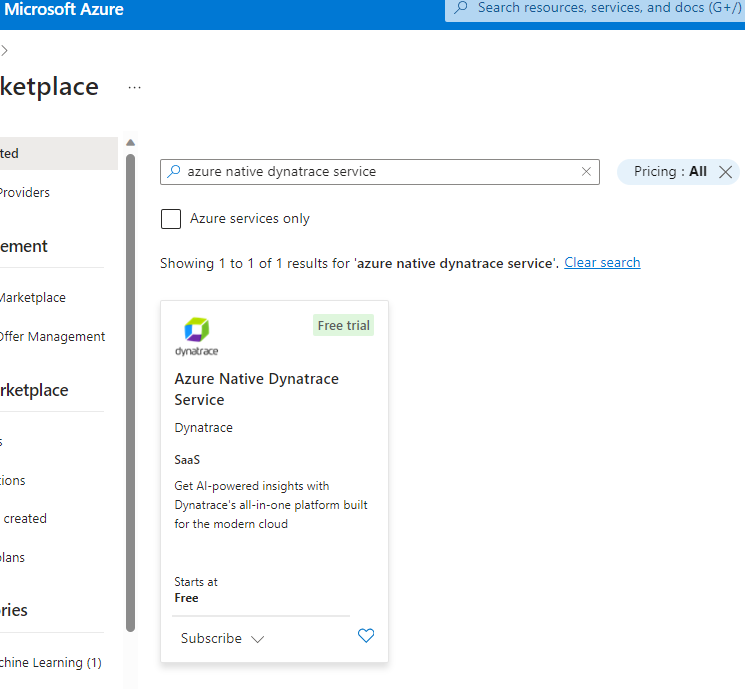
- From the drop-down under plan, select
Dynatrace for Azure Trialand click on subscribe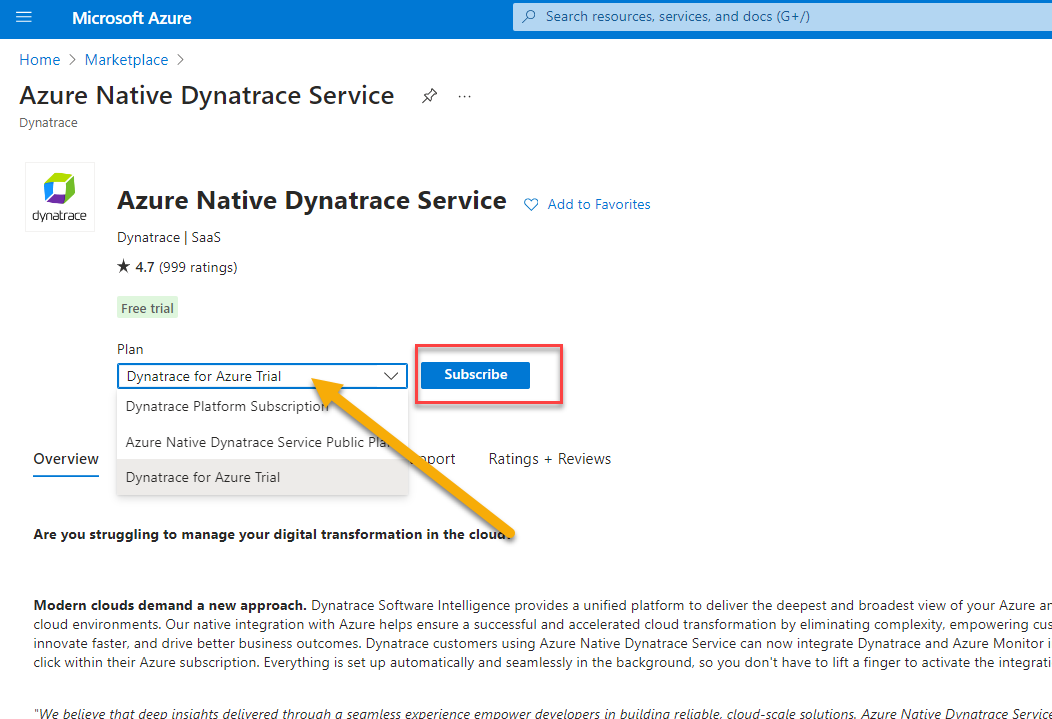
- Click on "Create" a new Dynatrace environment
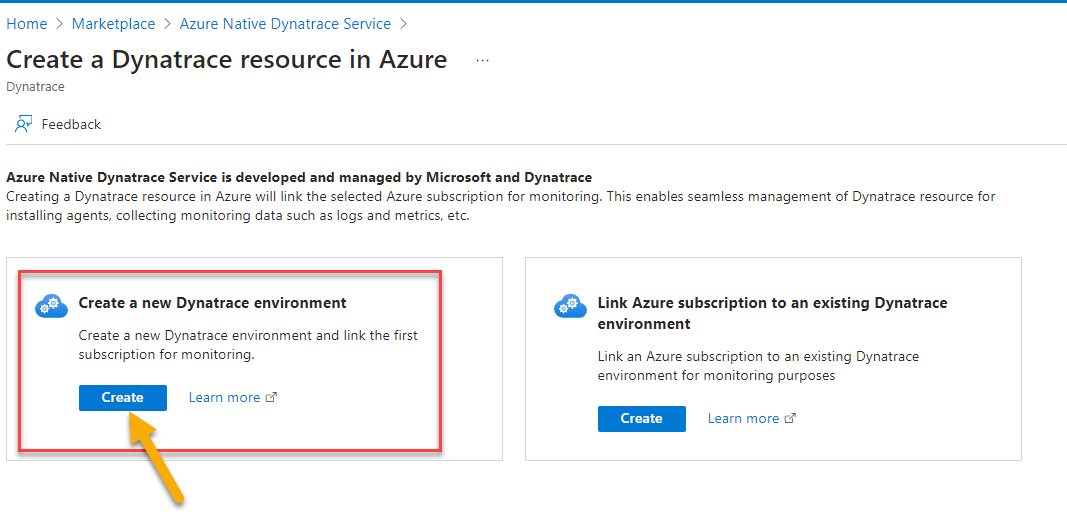
- On the create Dynatrace environment screen (Basic's)
- Select the
Azure Pass - Sponsorshipsubscription - create a new resource group called
azure-native-dynatrace - fill in the resource name as
dt-trial - The rest of the settings can take the defaults
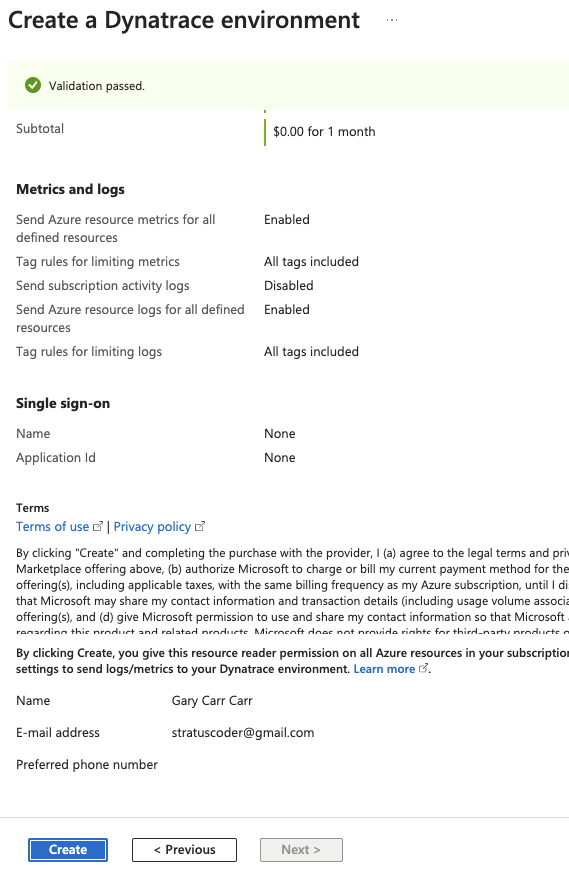
- Click on "Review + Create" button

- On the next screen click on "Create" button
- It will take 3-5 minutes for the deployment to complete. Once the deployment comples successfully, your screen should reflect as below. Click on
Go to resourcebutton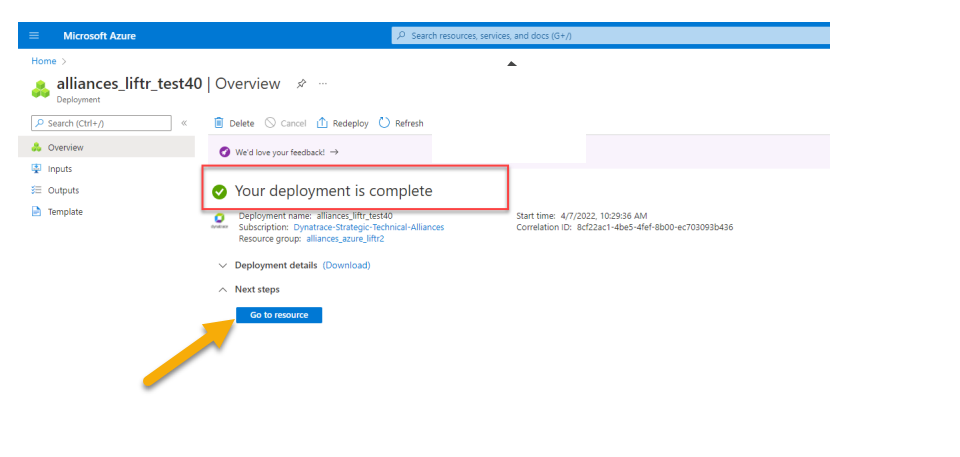
- Select the
- Search for Marketplace from the top search bar
Tasks to complete this step
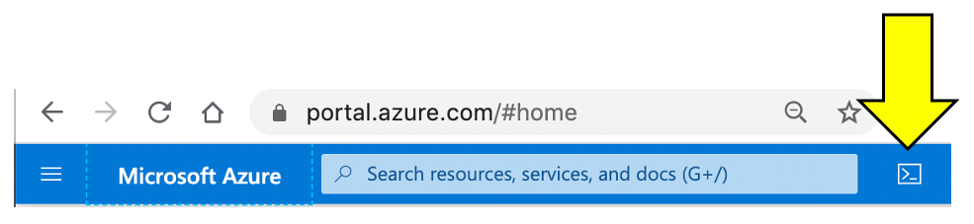
- Navigate to https://portal.azure.com/
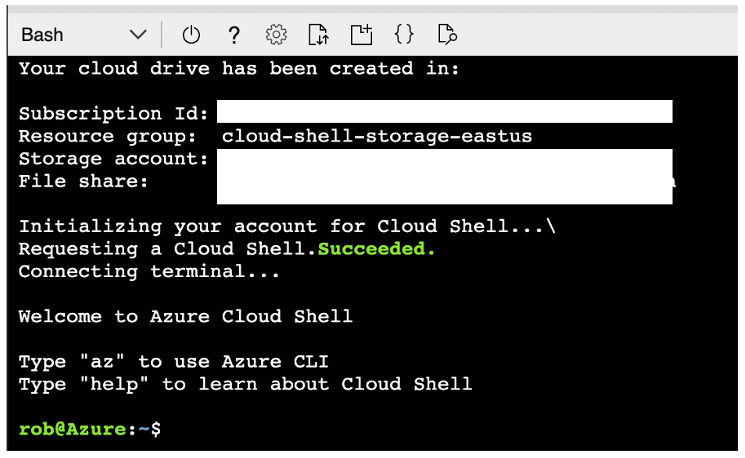
- Click on the Cloud Shell button
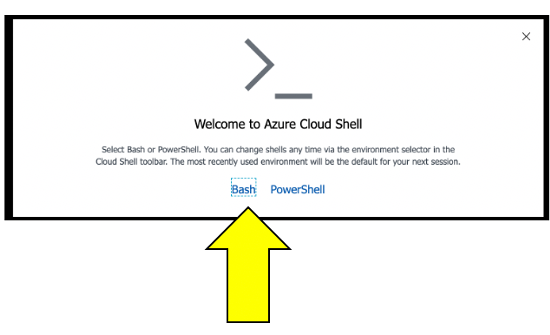
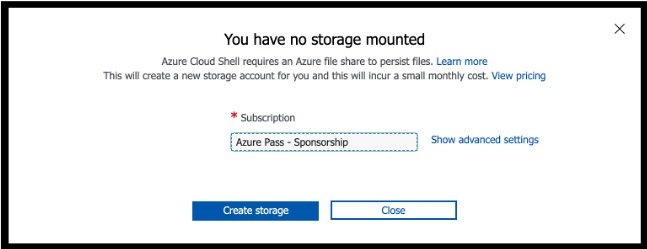
- Once the storage is created, you should see the Unix bash shell.
- Make a dedicated Azure shell Browser tab by clicking this new tab icon.

- To verify which subscription is configured for the Azure CLI, run this command.
az account show
- Look for the name in the output. This is example when a promo code was used.
{ "environmentName": "AzureCloud", "homeTenantId": "xxx-xxx-xxx-xx-xxx", "id": "yyy-yyyy-yyy-yyy-yyy", "isDefault": true, "managedByTenants": [], "name": "Azure Pass - Sponsorship", <----- This is the active subscription "state": "Enabled", "tenantId": "zzz-zzz-zzz-zzz-zzz", "user": { "name": "name@company.com", "type": "user" } }az account list --output table - Here is an sample output:
Name CloudName SubscriptionId State IsDefault --------------------------------------- ----------- ------------------------------------ ------- ----------- Subscription 1 AzureCloud aaaaaaaa-aaaa-aaaa-aaaa-aaaaaaaaaaaa Enabled False Subscription 2 AzureCloud bbbbbbbb-aaaa-aaaa-aaaa-aaaaaaaaaaaa Enabled False Subscription 3 AzureCloud cccccccc-aaaa-aaaa-aaaa-aaaaaaaaaaaa Enabled False Subscription 4 AzureCloud dddddddd-aaaa-aaaa-aaaa-aaaaaaaaaaaa Enabled False Azure Pass - Sponsorship AzureCloud eeeeeeee-aaaa-aaaa-aaaa-aaaaaaaaaaaa Enabled True - If the
Azure Pass - Sponsorshipis not theIsDefault = True, then run these command to set and verify.# set the subscription az account set --subscription <YOUR PROMO SUBSCRIPTION ID> # verify change az account list --output table # double check with az account show
- Within your Azure Cloud Shell window, run this command to download the workshop scripts:
git clone https://github.com/dt-alliances-workshops/azure-modernization-dt-orders-setup.git - To validate all the workshops scripts have download, please run these commands within the Azure Cloud Shell window to display the directories
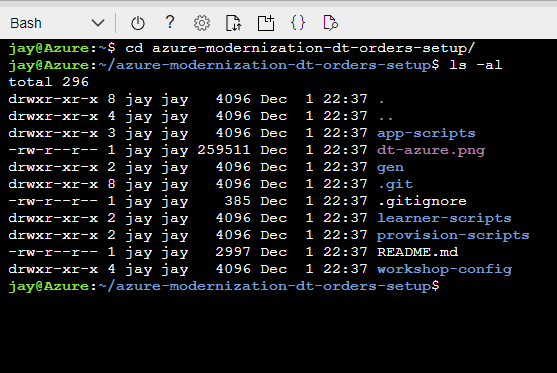
  cd azure-modernization-dt-orders-setup/
  ls -al
- You should see an output similar to the one below
In this section, we'll Access the new UI for Grail
Also, we'll setup a access token within your Dynatrace envrionment that will be used by the provisioning script to configure Dynatrace automatically via the API.
Access the new UI with Grail
- Open up browser and go to Azure Portal - https://portal.azure.com/
- Search for Dynatrace azure resource
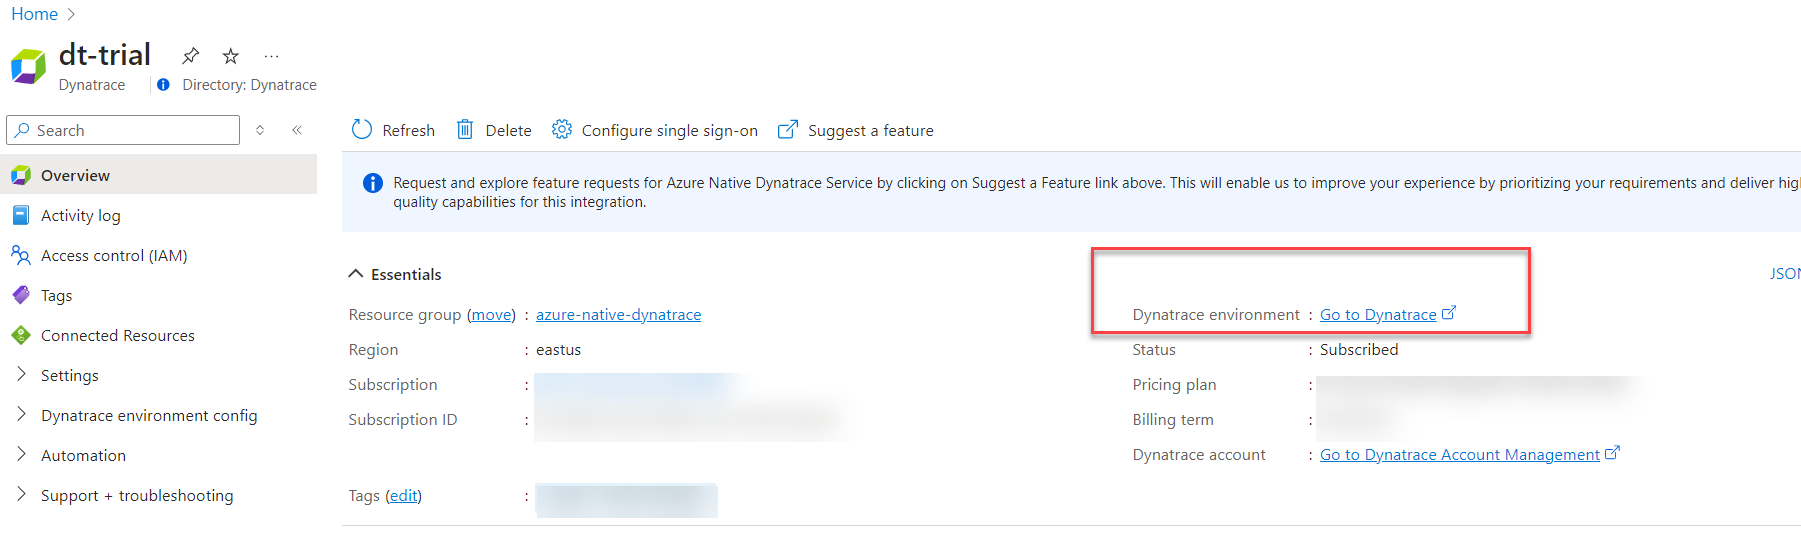
dt-trialfrom the top search bar
- Click on Go to Dynatrace Link
- Search for Dynatrace azure resource
- Login to Dynatrace
- On the Left menu, you'll notice a banner to access the new UI that was introduced with Grail.
- Click on
Take a lookbutton to access the new UI.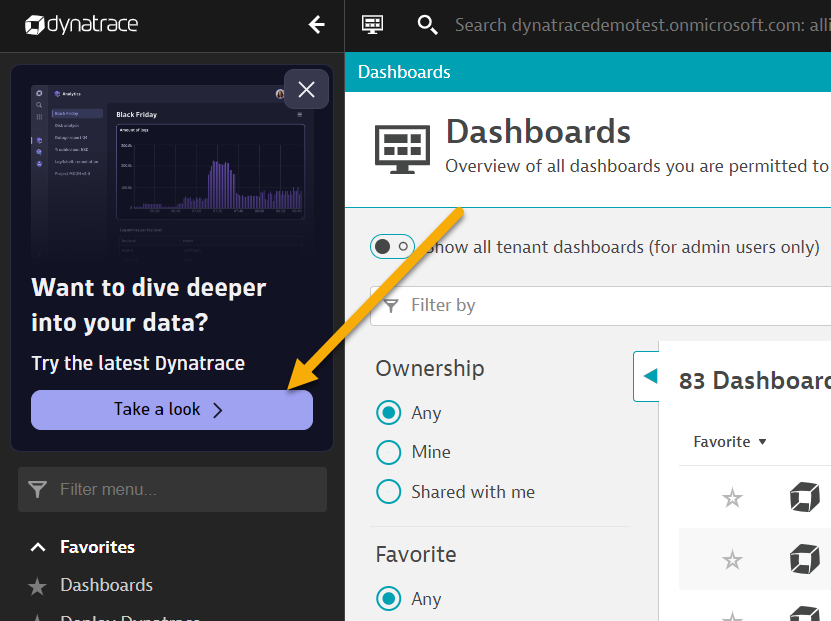
- Click on
Tru the latest Dynatrace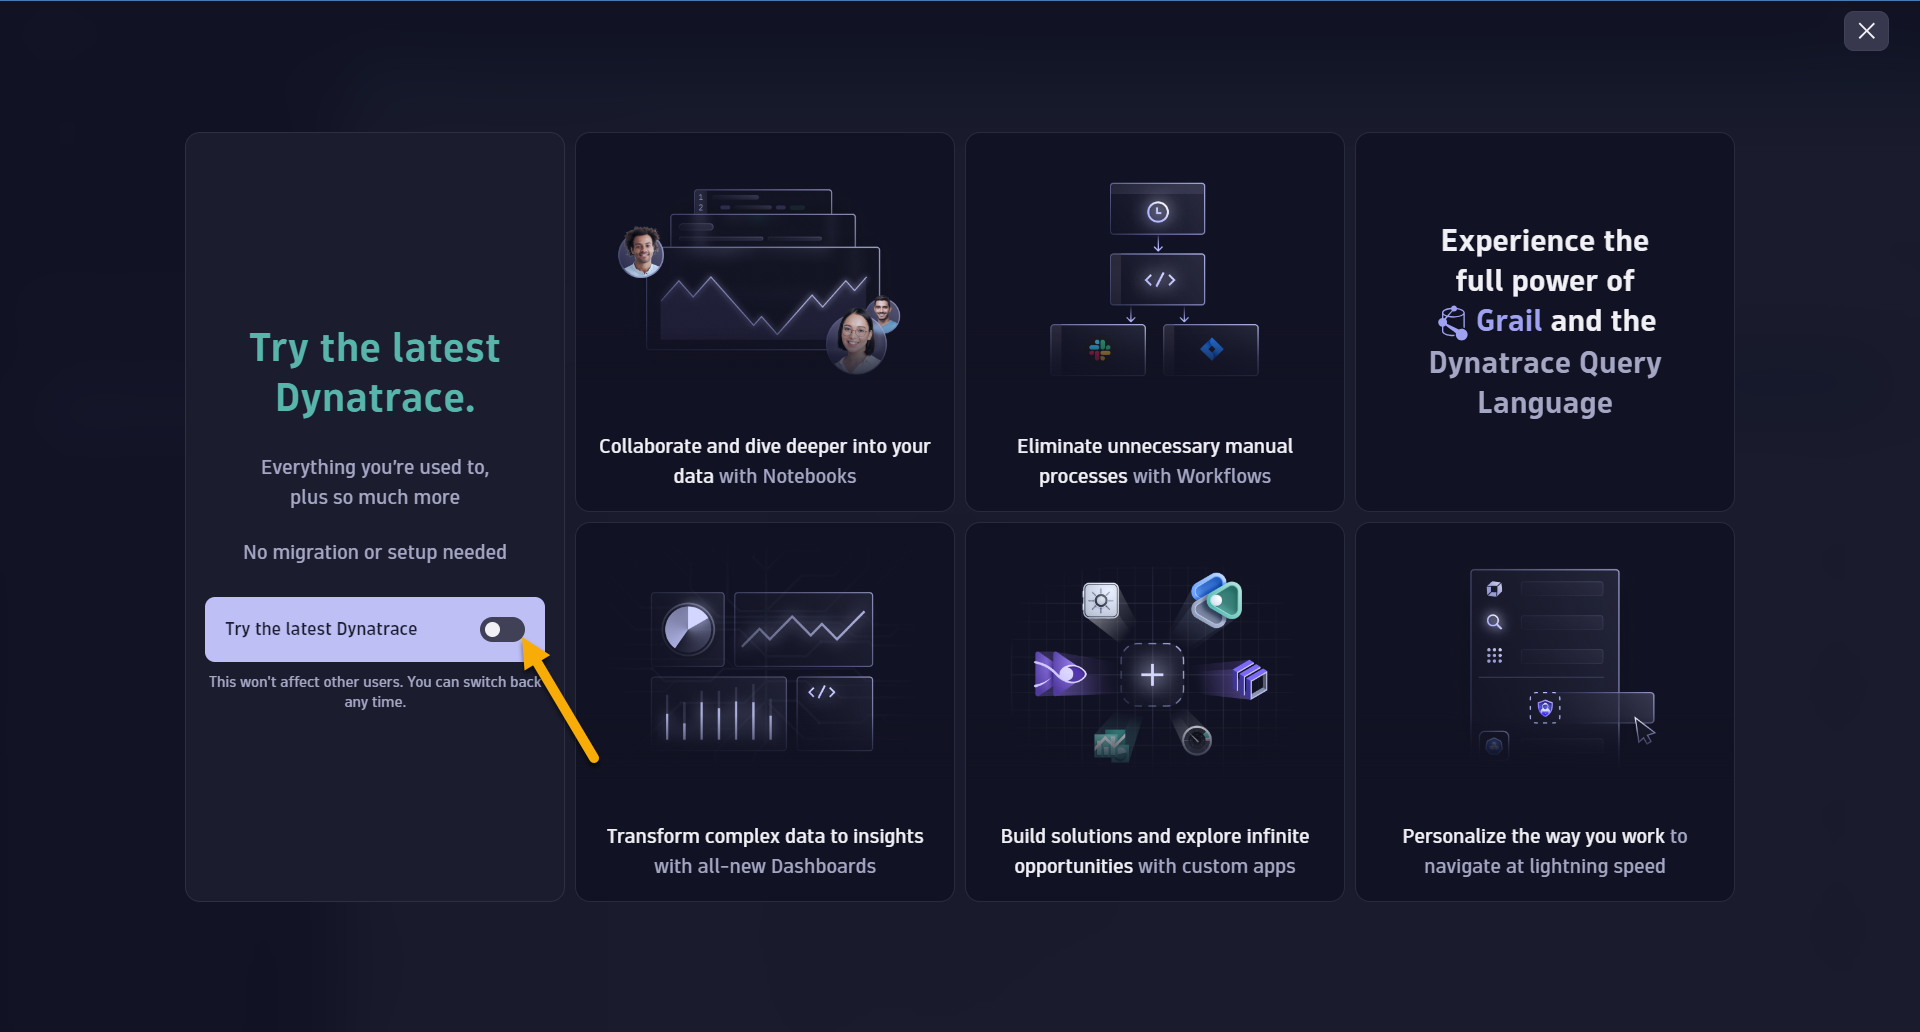
- Click on
Get started
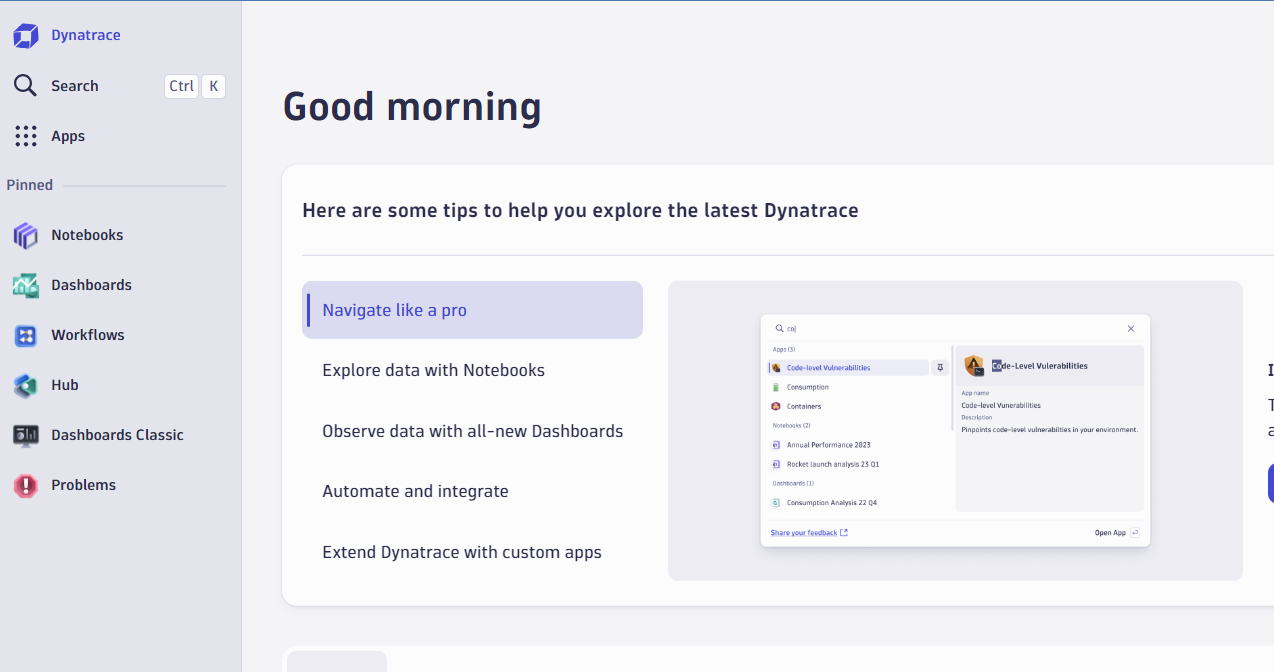
- You are now accessing the new UI with Grail.
Create Dynatrace Access Token
All we wanted to do here, is quickly get a Dynatrace token and save it for use in the Lab setup. To capture the token, follow these steps:
- Login into Dynatrace
- From the Left menu, click Apps -> Choose the
Access Tokensapp.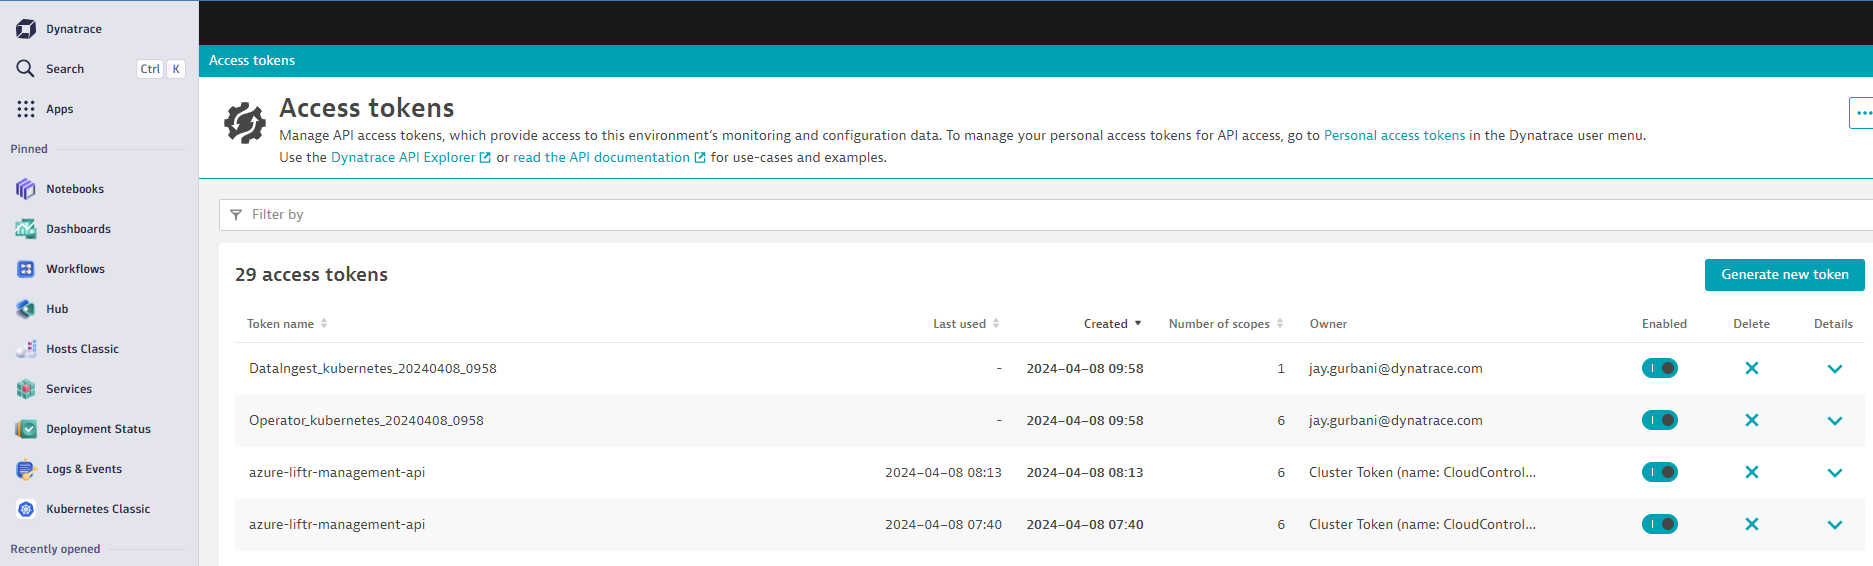
- On the Access token page, click the
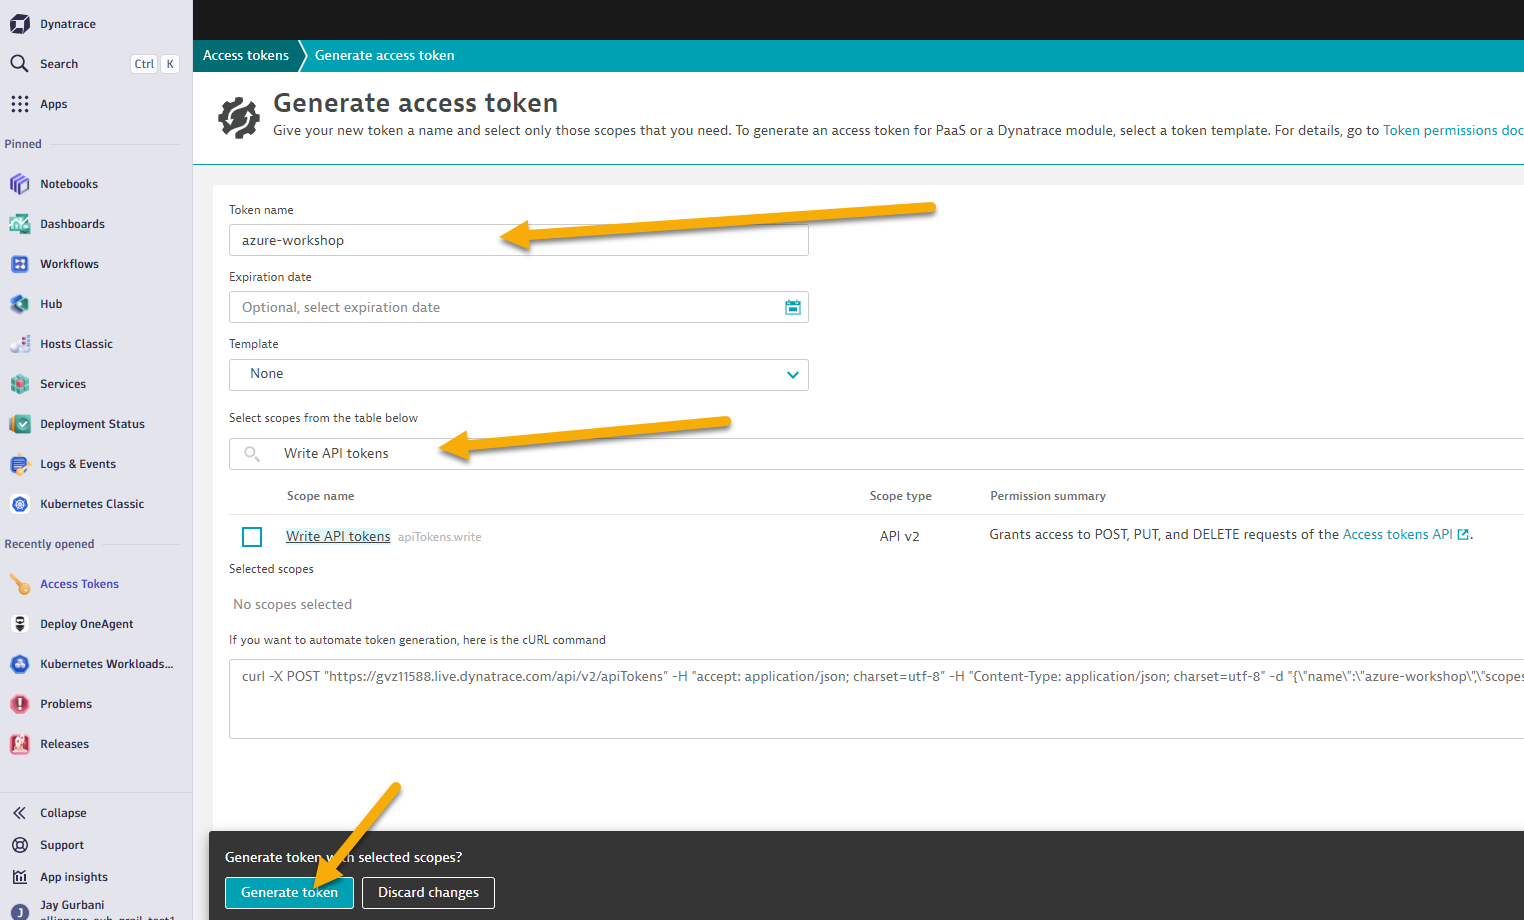
Generate new tokenbutton - On the new token page, Enter a name like
azure-workshop - Add
Write API Tokensto the scope. - Click on Generate token button on the bottom.
- Since this token is only shown once and you will need it in the next labs, copy this value to a local TEXT file before you leave this page. (For example Notepad, Notepad++, Notes.app)
- You will use this token in the next step as you setup the lab resources.
The next steps of this guide will have you gather various information from your Dynatrace environment needed to configure your environment and for the lab exercises.
From your Dynatrace environment, you will capture:
- Dynatrace Base URL
- Dynatrace API token
Capture Inputs Script
In the code repo you cloned, there is a simple UNIX shell script that prompts for values and writes them to a file called gen/workshop-credentials.json. Later in the labs, there are a few other simple UNIX shell scripts that will automate the step that reads this file so that you don't need to type or copy-paste these values over and over again during the workshop.
Lets begin..
- Run the input credentials Unix script
cd ~/azure-modernization-dt-orders-setup/provision-scripts
./input-credentials.sh
- Enter in the approprite values for the three inputs
================================================================== Please enter your Dynatrace credentials as requested below: Press <enter> to keep the current value =================================================================== Dynatrace Base URL (current: ) : Dynatrace Access API Token (current: ) : Azure Subscription ID (current: ) : =================================================================== - Confirm all of the inputs are correct
- 📓 There are some derived values the script generated based on your input.
- Once you confirm, the data is saved off
../gen/workshop-credentials.jsonand will be used by the provision script in the next step. - Towards the end of the script it will output two things you'll want to save in a notepad session to use in Lab2 later.
  ========================================================================================================
  ***** Please save the values below in a notepad for Lab2 when we install the Dynatrace Operator on AKS Cluster *****
  --------------------------------------------------------------------------------------
  Dynatrace Operator & Data Ingest Token  :       dt0c01.ABC123.ABC124
  API URL for Dynatrace Tenant            :       https://dtenvid.live.dynatrace.com/api
  =========================================================================================================
This step will automatically provision several Azure resources and Dynatrace configuration needed for the workshop via a shell script.
The process to provision everything will take ~15-20 minutes.
What exactly is this script doing?
1 . Add Azure resources
- Add a Resource Group for all the VMs named:
dynatrace-azure-grail-modernize - Add VM named:
dt-orders-monolith. At startup, it installs Docker and the Dynatrace Orders application in the Monolith configuration. OneAgent is installed using Azure extension - Add Azure Kubernetes Cluster named
dynatrace-azure-grail-cluster.
2 . Set Dynatrace configuration
- Set global Frequent Issue Detection settings to Off
- Adjust the Service Anomaly Detection global settings to a fixed error threshold
- Add Management Zones for the monolith and micro services versions of the application
- Add Auto Tagging Rules to drive management zone and SLO settings
- Add SLOs for a use in custom dashboards
- Add Azure Monitor Integration
Tasks to complete this step
- Open up Azure Cloud shell open
- Copy the command from below and hit enter it into your Azure Cloud shell and hit enter.
./provision-workshop.sh grail - You should see a prompt similar to as one below.
=================================================================== About to setup Dynatrace Grail Workshop Dynatrace Server: https://name.live.dynatrace.com SETUP_TYPE = grail =================================================================== Proceed? (y/n) : - Enter y at the prompt to begin the provisioning of the workshop. Once the script is complete you should see output as shown below
  =============================================
  Provisioning workshop resources COMPLETE
  End: Thu 25 Nov 2021 12:45:29 PM UTC
  =============================================
Tasks to complete this step
- Go back to the window where you have the Azure Portal screen open
- Search for
Resource Groupsfrom the search bar at the top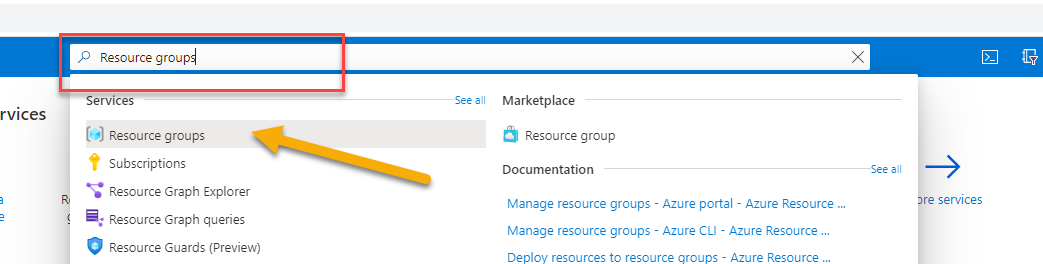
- Click on
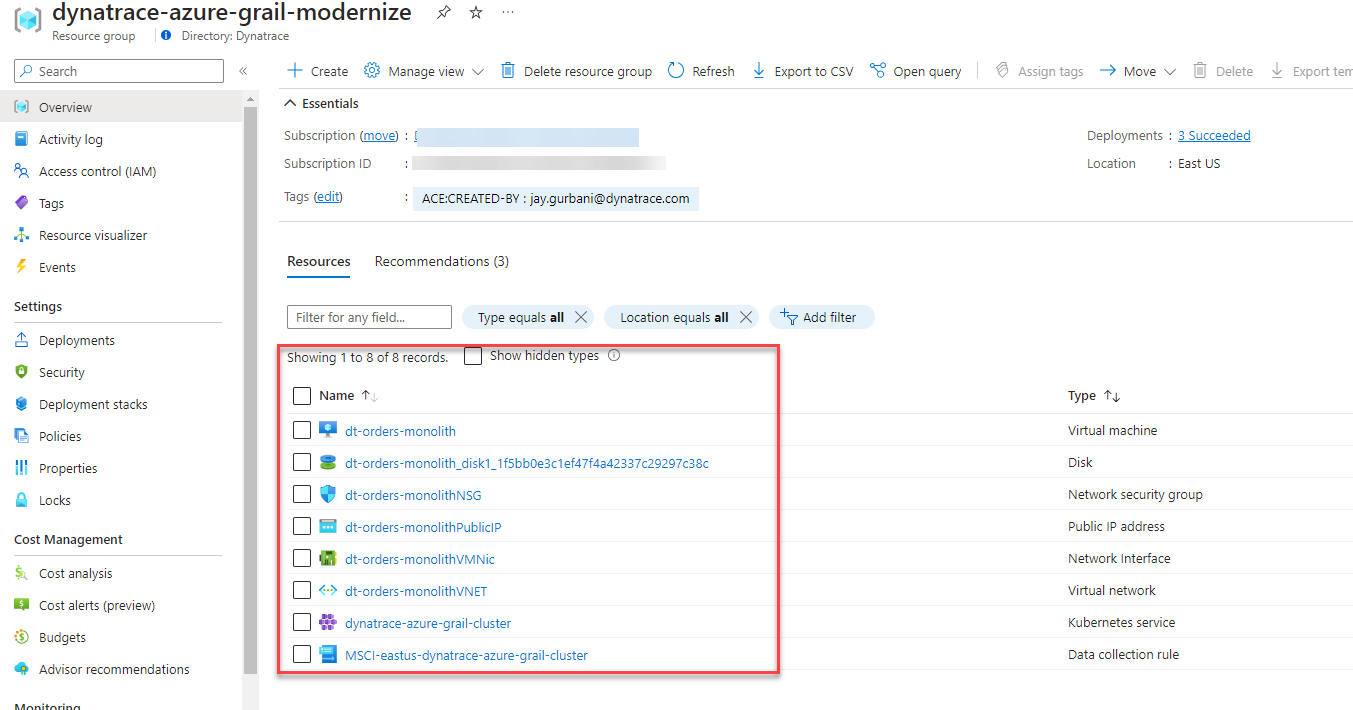
Resource Groups. From the list of resource group selectdynatrace-azure-grail-modernize. - Once you're within the resource group, you will see all of the different types of resources we've automatically provisioned for this workshop
Verify AKS Cluster is provisioned
- In this step we will verify if the Azure Kubernetes Service (AKS) Cluster was provisioned correctly. Also we will download the credentials to manage our AKS cluster via
kubectlcommands. - The kubectl command line tool that lets you control Kubernetes clusters. For details about each command, including all the supported flags and subcommands, see the kubectl reference documentation.
- Run this command in Azure Cloud shell to get familiar with the command line options for kubectl.
kubectl --help - Configure kubectl to connect to the new cluster by downloading the cluster credentials.
az aks get-credentials --resource-group dynatrace-azure-grail-modernize --name dynatrace-azure-grail-cluster - Verify you are connected. You should see
dynatrace-azure-grail-clusteras the output.kubectl config current-context - List the nodes in the cluster
The output should look like this:kubectl get nodes
You can see even more detail with this command.NAME STATUS ROLES AGE VERSION aks-nodepool1-74092643-vmss000000 Ready agent 21h v1.19.11 aks-nodepool1-74092643-vmss000001 Ready agent 21h v1.19.11kubectl describe nodes
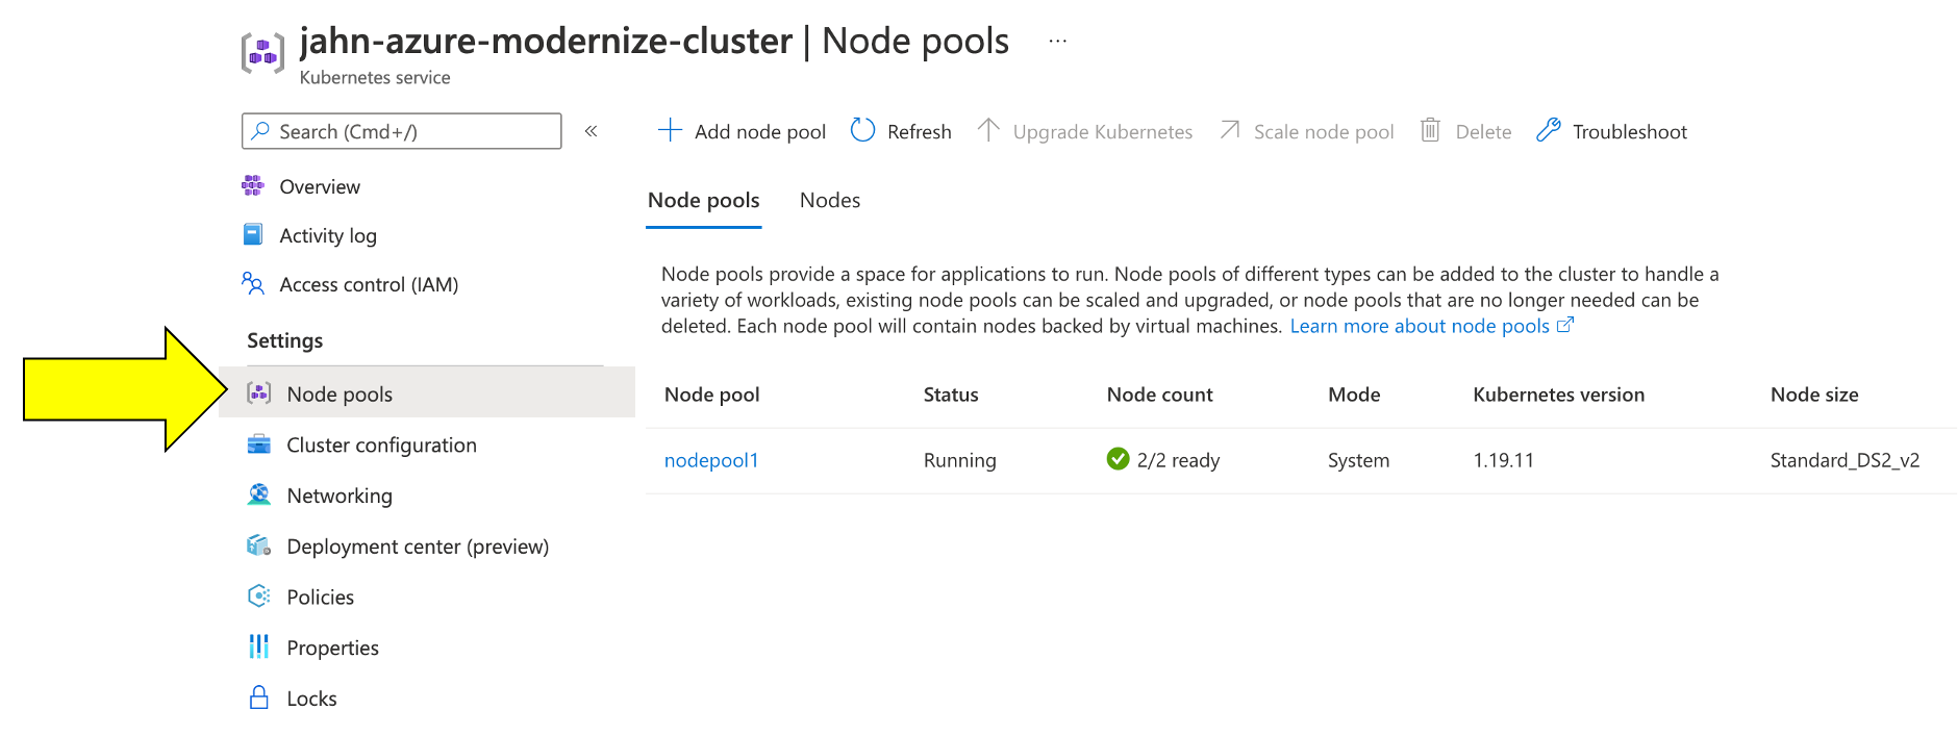
Optional Verification of AKS Cluster via Azure Portal
- Within the Azure web portal, search for the kubernetes services and then click on the new workshop cluster.
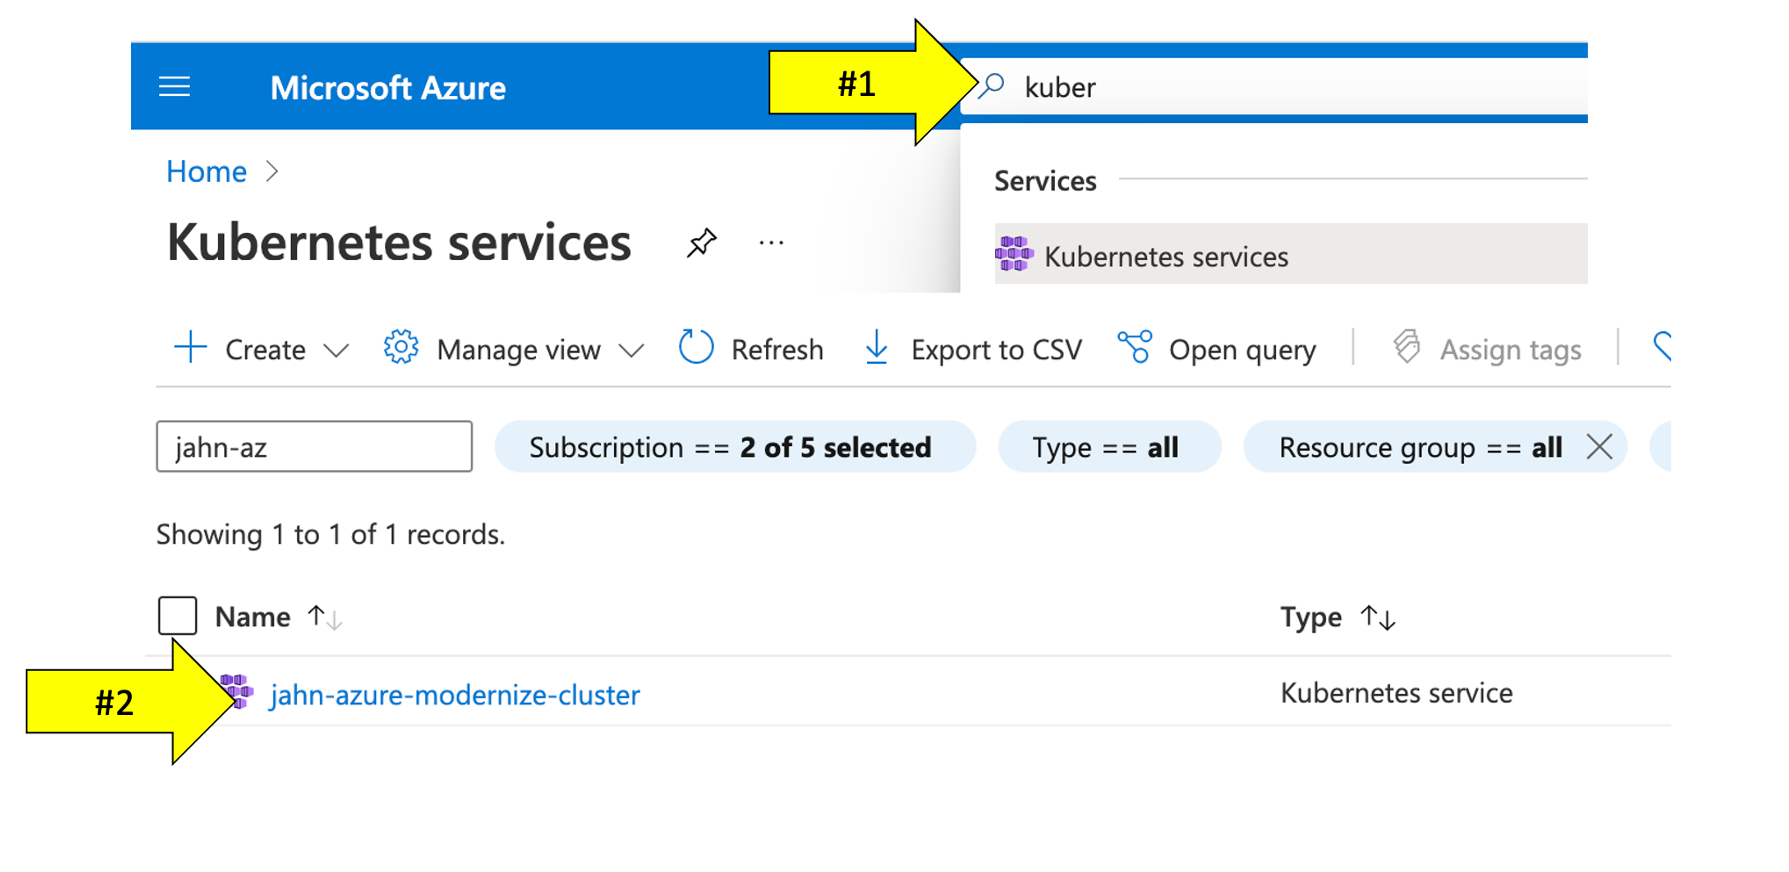
- Explore the configuration to view the number of nodes and the kubernetes version.
In this section, you should have completed the following:
✅ Setup your Azure subscription utlizing the Azure Pass Token
✅ Provisioned a trail Dynatrace Grail tenant through the Azure Marketplace
✅ Setup the Azure Cloud Shell to run various UNIX commands
✅ Captured environment and token info needed for workshop provisioning automation scripts
✅ Provisioned workshop Azure resources